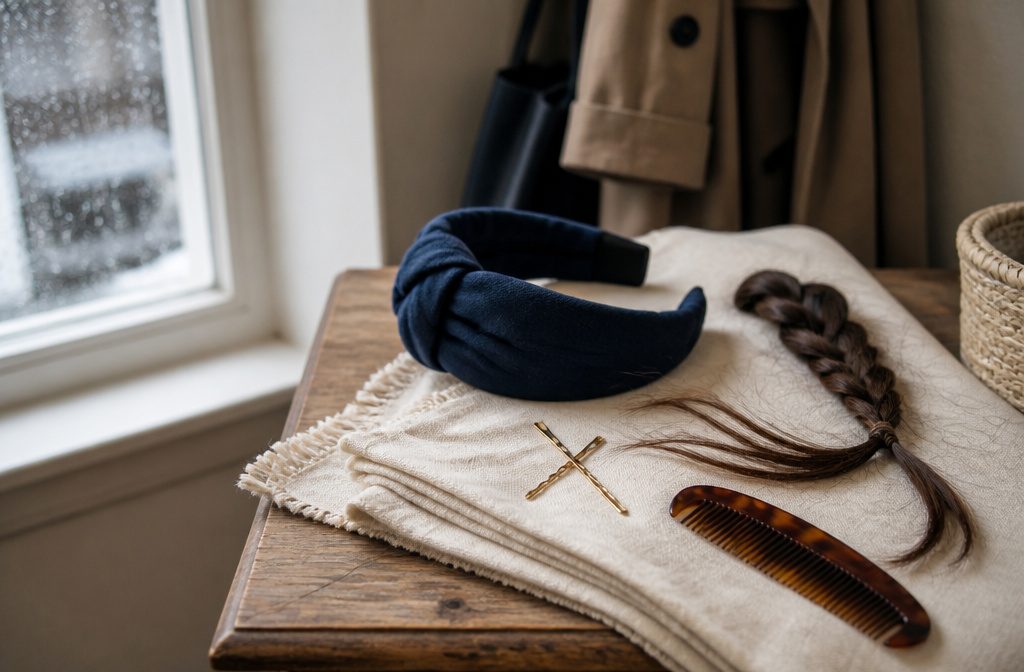
Bangs hide under accessories, disappear into braids, or slick back with gel depending on how much time you have and whether short pieces cooperate or keep springing forward.
The method that works changes with length: bangs too short to tuck need pins or a headband, while longer awkward-stage fringe blends into twists or side parts without extra hardware.
A crossed pair of bobby pins holds better than a single pin laid flat, which slips when the hair underneath is short.
1. Use a Headband, Head Scarf, Hat, or Cap
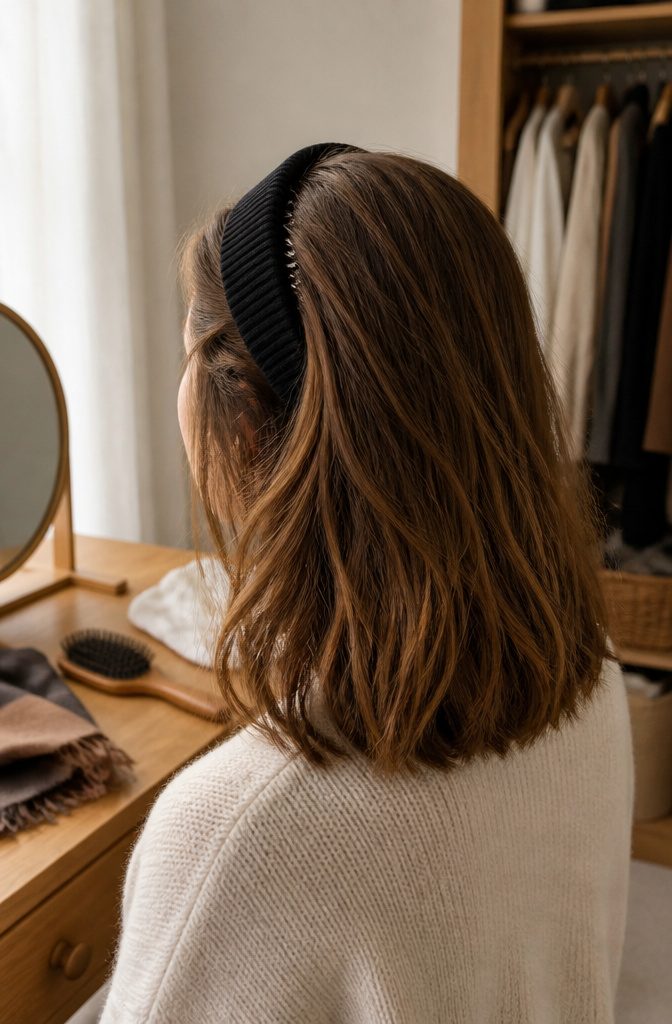
When you really don’t want to fuss with product or heat tools, an accessory covers or holds bangs back in seconds.
A headband with teeth grips short bangs that would otherwise fall forward, and the teeth keep them from sliding loose.
A head scarf tied around the back of your hair and knotted on top hides bangs entirely, or you can tie it across your forehead for a different look.
Thick stretchy headbands work the same way when you pull them over the top of your hair.
If your bangs are damp or you have a minute to spare, blow them straight back away from your face first, then slide the headband into place and hold everything with a light spray.
That keeps shorter pieces from poking out later. Hats and caps do the job too, covering bangs completely if that’s what you’re after.
2. Pin Bangs Back with Bobby Pins, Clips, Barrettes, or Elastics
The most direct move is to pin bangs flat against your head or sweep them to the side using bobby pins, small clips, or a barrette.
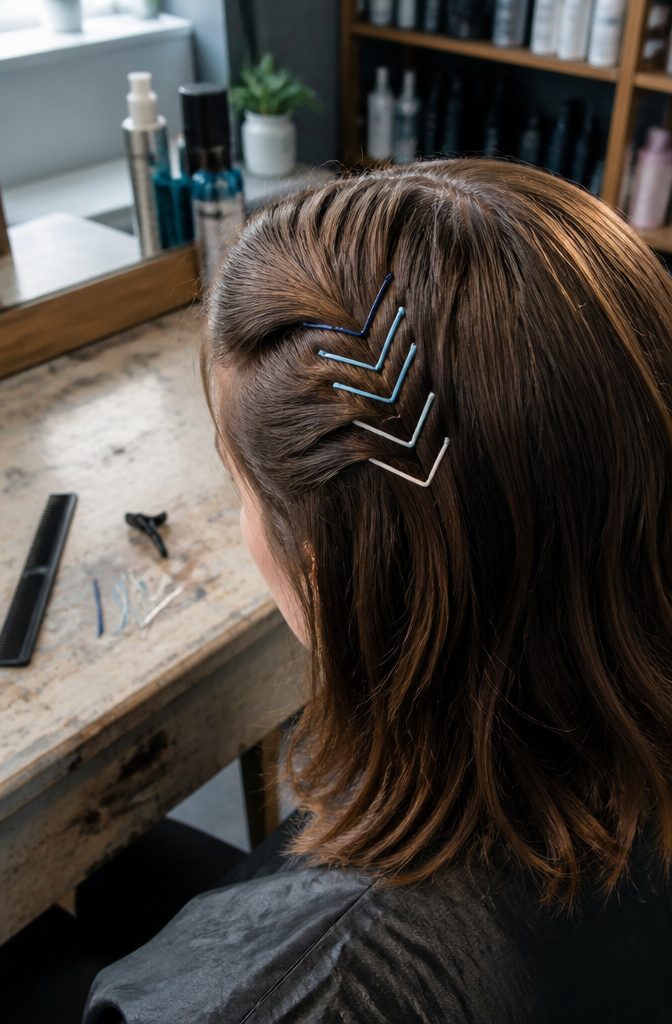
Blow-dry fringe to one side, twist it away from your forehead, and cross two bobby pins over each other to lock it down. The crossed pins grip better than a single pin laid flat.
Use embellished bobby pins or clips to personalize your look.
— wikiHow
If you want the hardware to show, lean into it. Arrange colored bobby pins in V or X shapes across the pinned section: navy pins forming the first V, light blue the second, white the third.
The pattern reads as intentional rather than improvised. Barrettes covered in beads, sparkles, or metal detail work the same way, turning the fix into the focal point.
For short bangs that want to pop forward, twist small sections inward toward your scalp as you work across your forehead, pinning the whole twisted strand in place once you reach the end. Tighter twists hold stubborn pieces better.
3. Create a Deep Side Part or Sweep Bangs to One Side
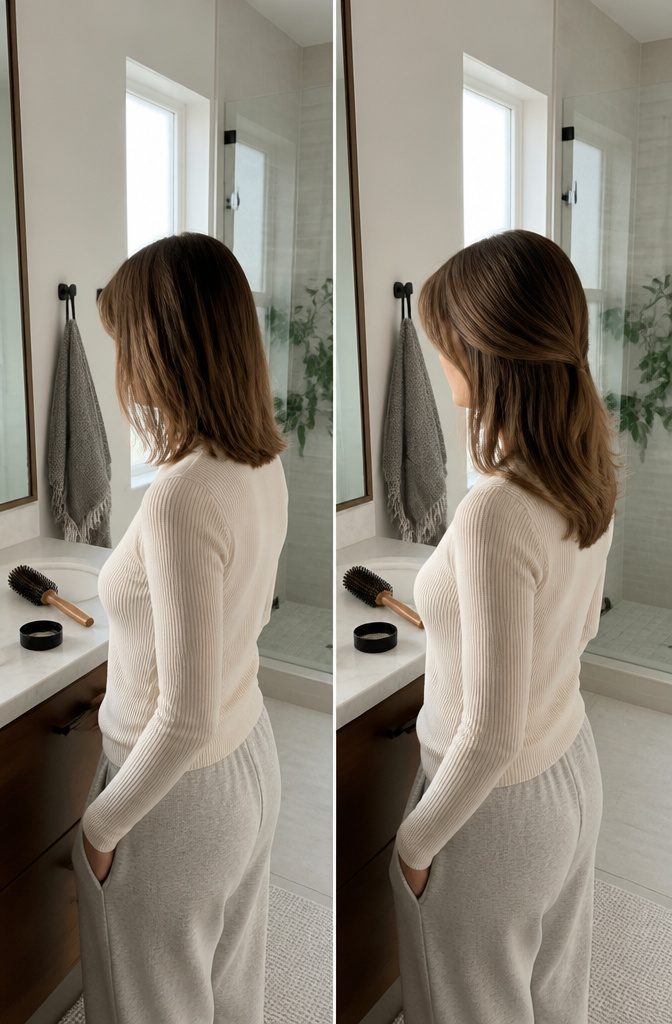
Sweeping bangs to one side blends them into longer hair so they stop reading as awkward regrowth.
A deep side part does most of the work: hair that used to fall forward now lies flat against the temple and merges with the layers beside it.
Blow-dry with a round brush to direct the whole section toward the chosen side, then add a small amount of gel to keep shorter pieces from springing back.
If the bangs are short enough that they still stick out after drying, a mini straightener or flat iron run flat along the scalp can press them down before you style the rest.
The method works whether you leave the rest loose, pull it into an updo, or set it in waves.
As a bonus, hair swept hard to one side looks thicker at the roots than it does when parted down the center.
4. Make a Center Part and Direct Bangs to Both Sides
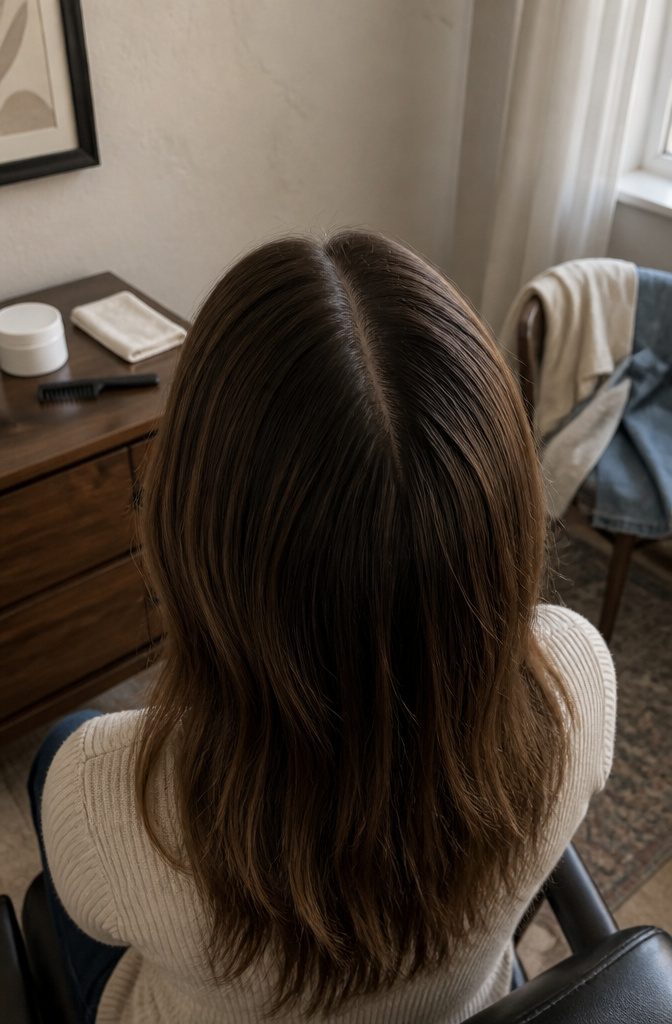
Part your hair down the middle and direct the bangs on each side outward with the rest of your hair.
The center part splits bangs into two smaller sections that blend more easily into longer layers than a full curtain parting at the forehead.
This works at almost any bang length. Sleek the strands with product after parting to lock them in place and prevent flyaways from drifting back toward your eyes.
The product step matters more than the styling itself: without it, shorter bangs tend to lift and break the line you just created.
I find this option useful when accessories feel like overkill but leaving bangs front and center doesn’t suit the day. It gives you a clean middle part without fighting the bangs or pinning anything down.
5. Braid Bangs into the Longer Hair
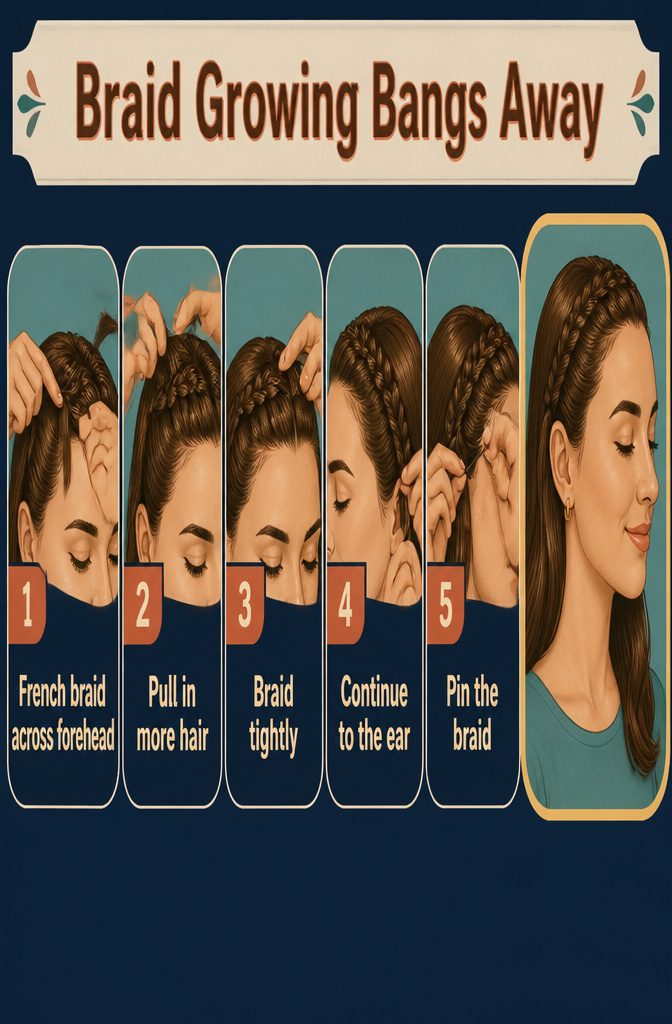
Braiding pulls short bangs into the rest of your hair and keeps them there without clips showing. French braid along your forehead to hide them completely, working across from one side and pulling in more hair as you go.
Since bangs are short, braid tightly so strands stay put and braid all the way to your ears before pinning.
Another route: part down the center and braid each side down to your ear, then pin.
The braids frame your face and disguise awkward lengths. A side braid works too if you prefer everything swept one direction instead of split.
For something faster, try a twist braid by splitting the first section into two strands, crossing one over the other, then picking up the next section and twisting it in as you move along your bangs toward your ear.
This approach works whether your bangs are still short or half-grown and too long to style forward.
6. Twist Bangs and Pin Them to the Side or Back
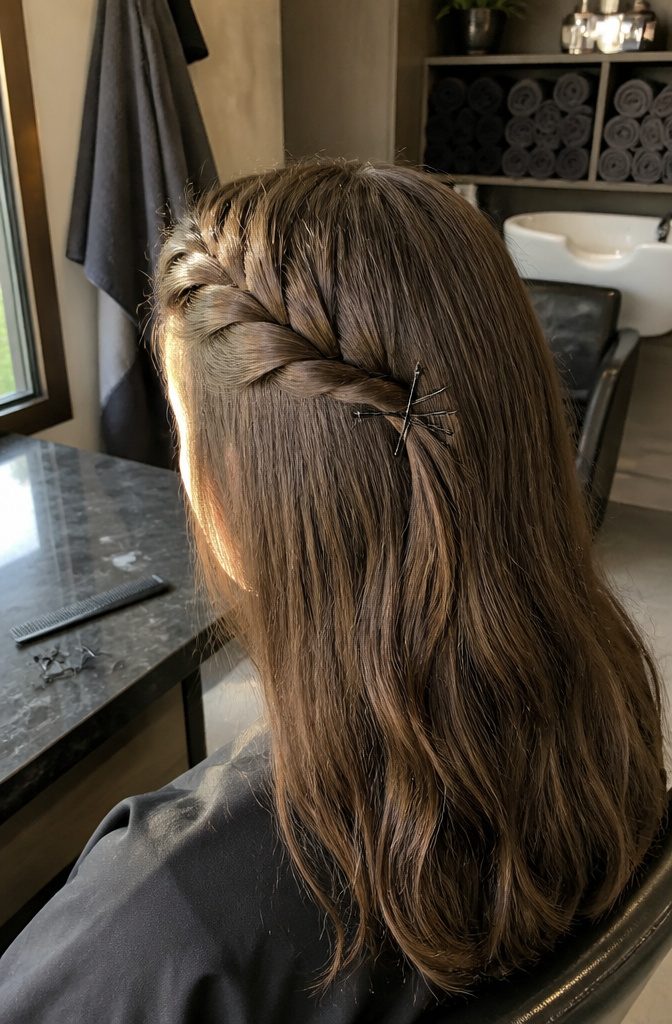
Gather the fringe with a twist and secure it to the side or back. Blow-dry bangs to the side first, then collect them in one section and give them a few twists away from your forehead.
Two bobby pins crossed over one another hold the twist in place better than a single pin, which tends to slip when the hair underneath is shorter and still finding its length.
The side placement keeps bangs off your face without committing to a full-back style, and the twist itself adds a bit of texture rather than lying flat the way a plain pin-back does.
If the fringe is uneven or you’re between trims, the twist disguises that better than leaving it smooth.
7. Use a Pouf or Pompadour
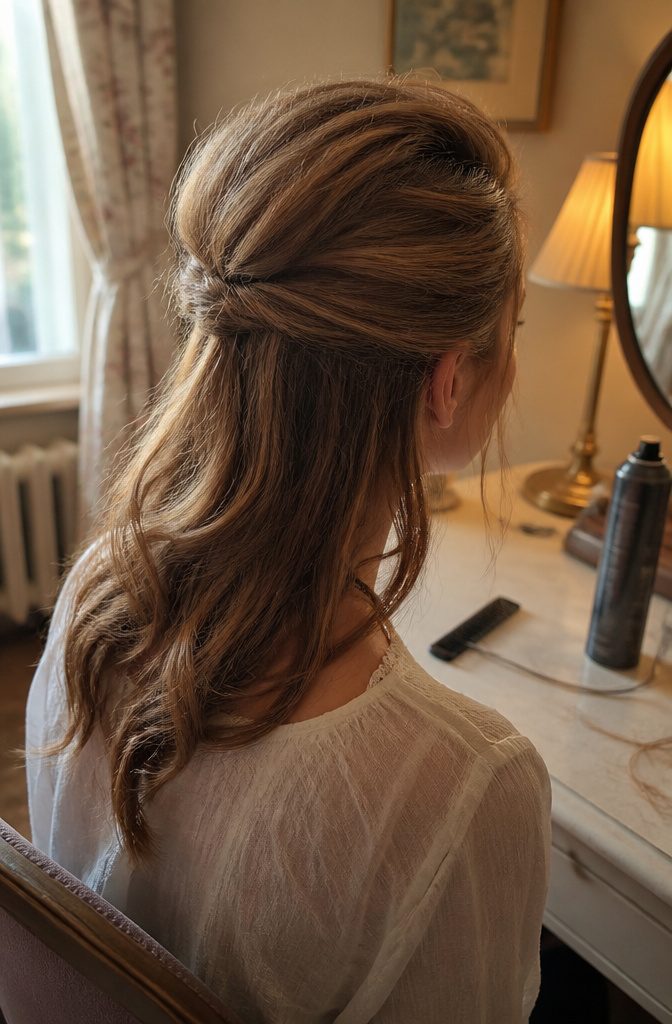
Lift and pin bangs back with a little height, and you get volume that hides the length while adding shape to the whole look.
Tease the bangs slightly at the root, then pull them up and back before pinning with a clip or a few bobby pins.
The result reads as intentional styling rather than a cover-up, because the bangs blend into the overall volume instead of sitting flat and obvious.
The 2000s pouf version pushes this further: more lift, more texture, and a deliberately styled edge that feels retro without looking costume-y.
For something softer and more vintage, go for a larger roll at the front in the style of Brigitte Bardot.
Both methods work because the bangs disappear into the teased, lifted hair rather than sitting as a separate layer you’re trying to hide.
A texturizing spray or regular hairspray helps hold the lift and keeps the teased sections from falling flat.
Spray the front, tease with a comb until the bangs mix with the rest of your hair, then set it with a final pass of hairspray.
The bangs integrate completely, and what you’re left with is a styled silhouette with actual dimension.
8. Slick Bangs Back with Gel or Styling Product
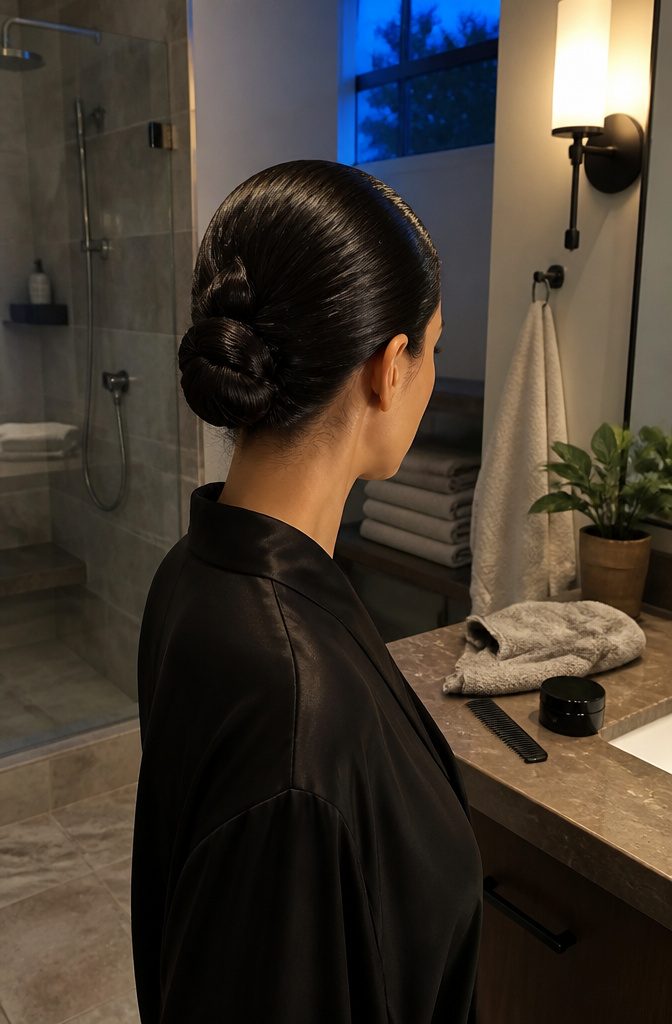
Apply a dime-sized amount of gel to your bangs and comb it through, slicking them back tight against your head or loosely to the sides.
The product holds them in place without clips or pins. I find this works best on damp hair, when the gel distributes evenly and dries with the slick finish intact.
The wet look takes this a step further. It reads more special-occasion than everyday, but if you like the high-shine effect you can wear it as often as you want.
A quick spray of hairspray locks everything down once the gel sets. For a center-parted version, run gel through your bangs with your fingers and comb them to each side so they match the rest of your hair.
9. Add Texture or Volume to Blend Bangs into Fuller Hair
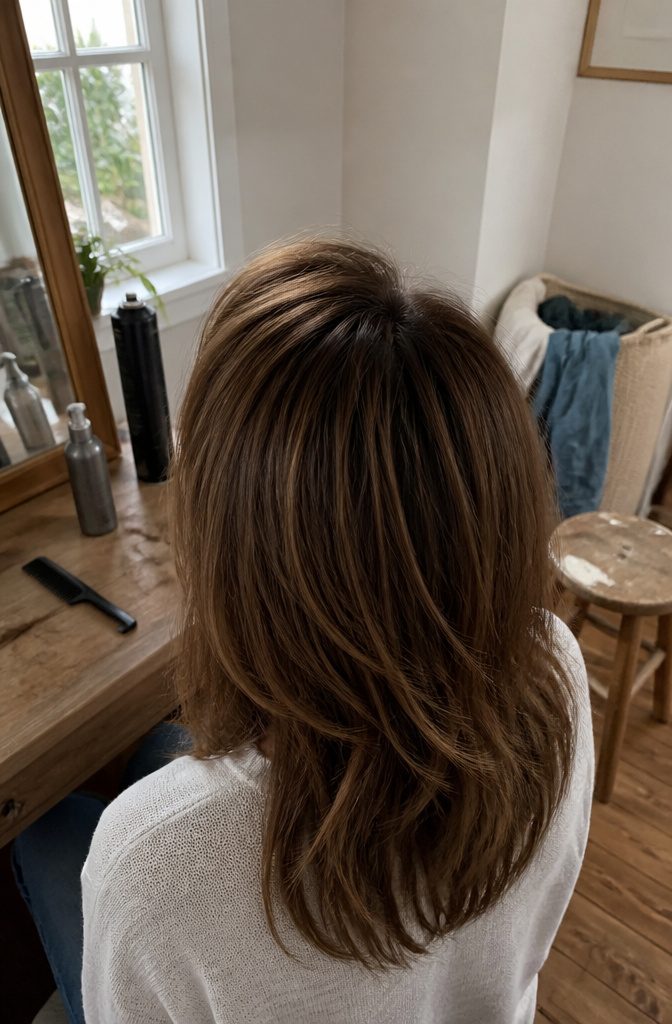
Texturizing spray lets bangs dissolve into the rest of your hair when you tease the front to match its volume.
Spray the bangs and the hair just behind them, then use a comb to lift and backcomb until the shorter pieces blend completely. You want fullness that hides the line where bangs end and longer hair begins.
Regular hairspray works if you don’t have a texturizing product.
The hold matters more than the formula. Set everything with a final pass of spray once the teasing is done.
A 2000s pouf takes the same idea and turns it visible.
Tease the bangs, lift them slightly, and pin them back with a clip or bobby pins. The volume absorbs the bangs while giving you that edgy, styled shape without looking like a cover-up.
10. Make a Top Knot
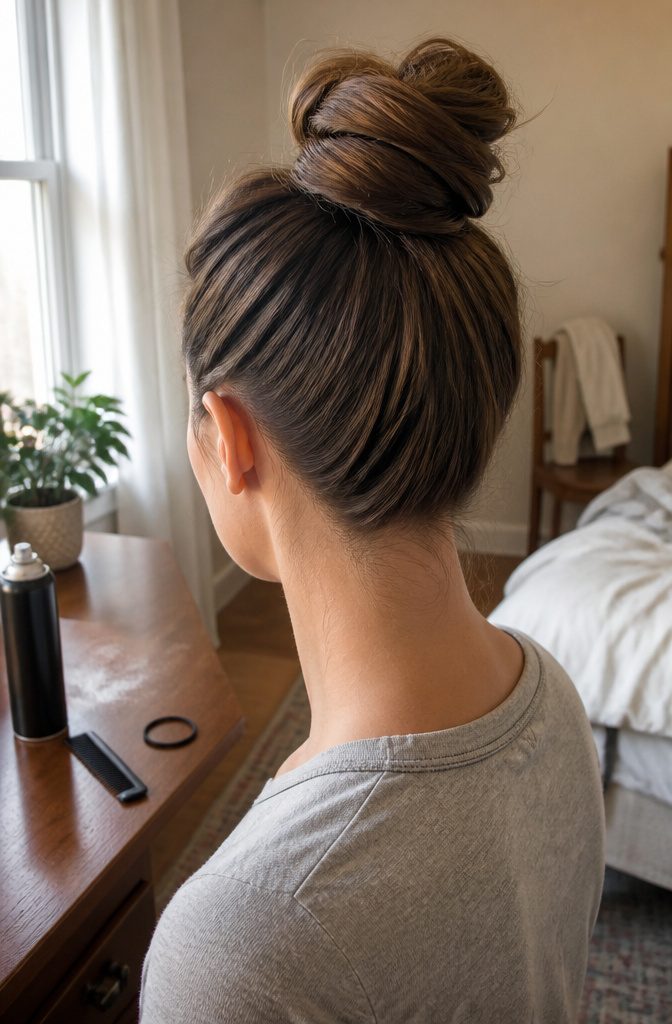
Pull everything up into a top knot and the bangs disappear along with the rest.
The style sits higher than a low bun and looks more deliberate than a messy knot thrown together in thirty seconds, which makes it useful when you want to look like you tried without actually spending the time.
Whether the bangs cooperate depends on their length.
Longer bangs fold into the knot without much fuss. Shorter ones need help: a few bobby pins to catch the pieces that slip and a quick hit of hairspray to lock them in place.
The knot itself hides the pins, so you can use as many as it takes to keep everything secure.
11. Gather the Rest of the Hair into a Bun or Ponytail After Braiding Bangs
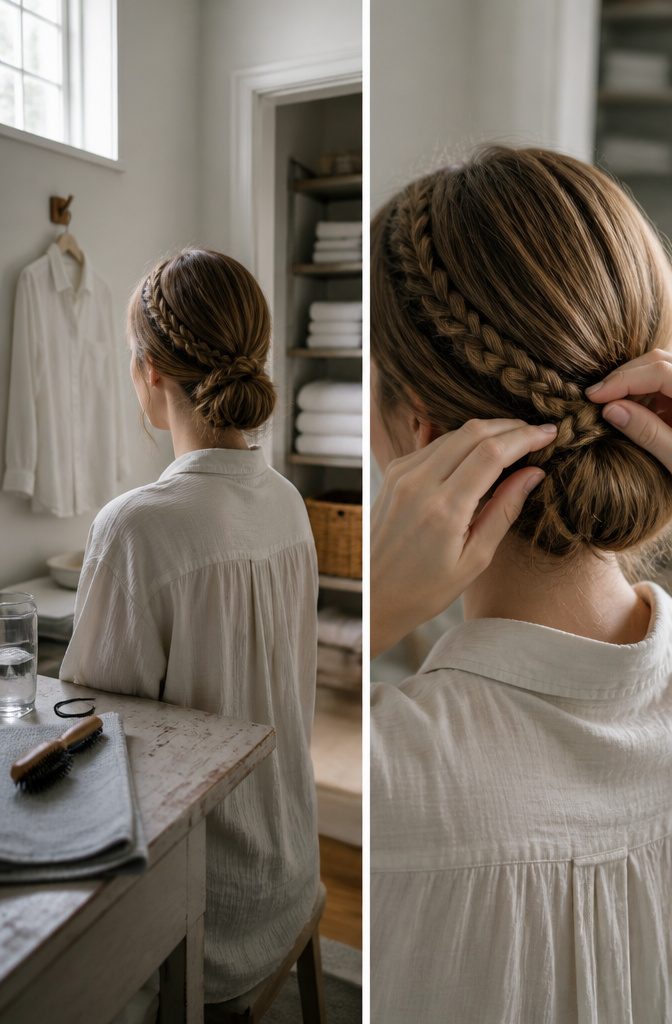
Once the braid is in, pull the rest of your hair into a bun or ponytail to finish the look.
The combination gets hair completely off your neck and turns a functional braid into something that reads as deliberate style rather than a quick fix.
You can go messy or sleek with the bun depending on what the rest of your day looks like.
I find the sleek version holds better through a long shift, but the messy bun hides any unevenness in how the braid sits.
Either way, the updo draws attention up and back, which means the braided bangs become part of the whole silhouette instead of standing out as the thing you were trying to tuck away.
12. Tuck Bangs Behind the Ears
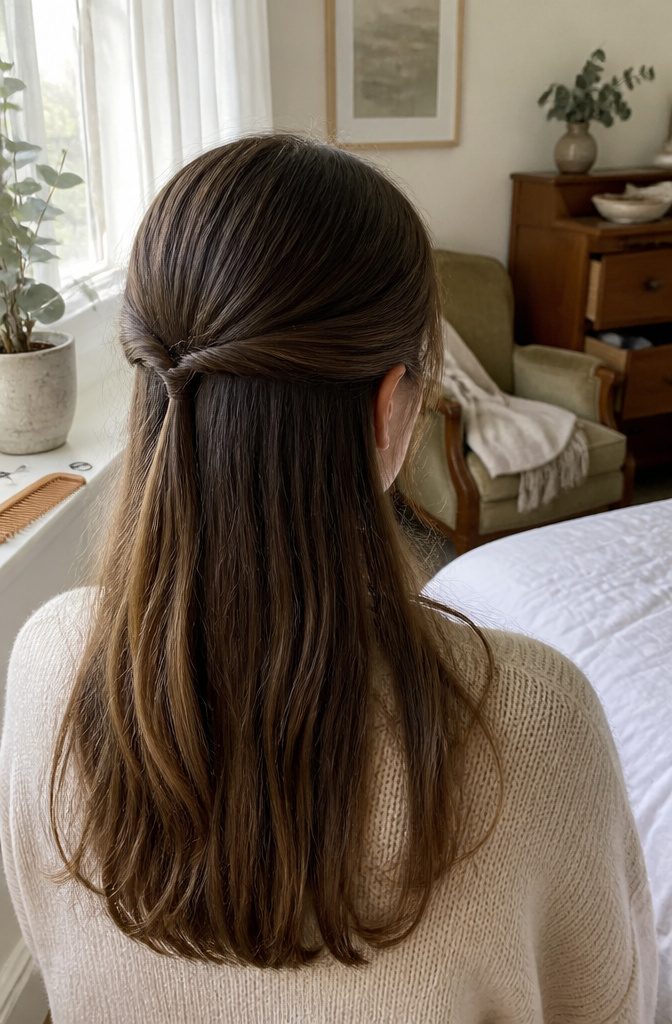
The method here is simple: pull a section of hair from each side, tuck it behind your ears, and pin it in place with a bobby pin or a tiny elastic.
The fringe gets pulled back with it and disappears into the rest of your hair.
I like this one when you want most of your hair loose but need the front sections out of your face.
It works best if you leave the bulk of your hair slightly forward so the pinned sections blend in rather than pulling everything tight to your scalp.
The pins sit hidden behind your ears, and from the front it reads as hair swept back naturally rather than something you engineered with hardware.
If your bangs are very short, you may need to use a bit of tension when you pull those side sections back to catch the fringe along with them.
A tiny clear elastic holds better than a single pin on fine or slippery hair.
13. Wrap Bangs Around a Thin Stretchy Headband
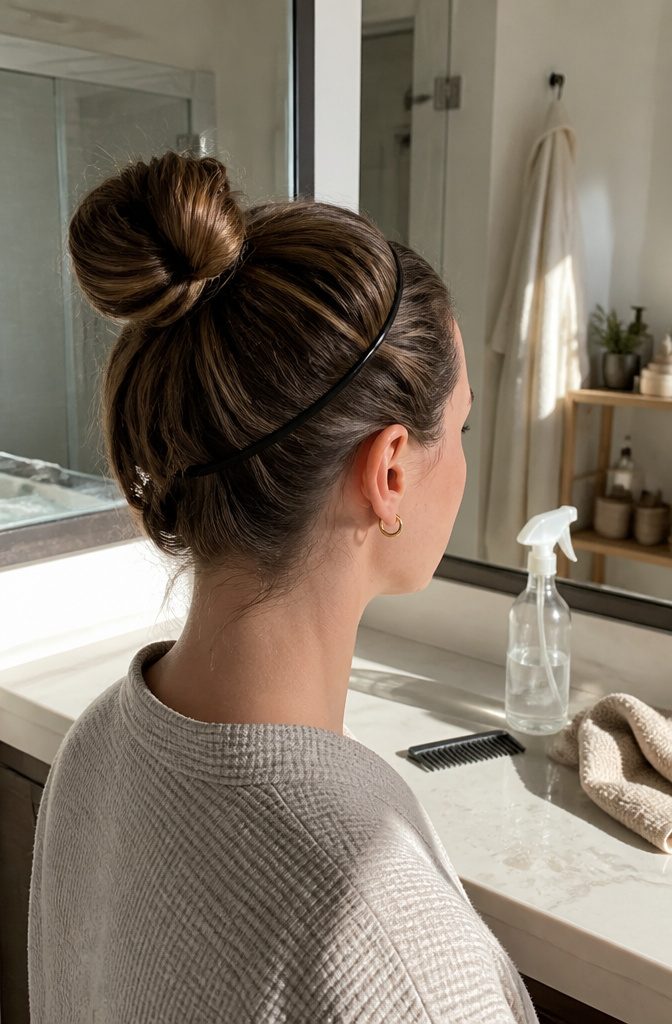
Wrap the bangs around a thin stretchy headband so they sit tucked underneath the band instead of falling forward.
The technique works best with bangs that have grown past eyebrow length but aren’t quite long enough to stay pinned or braided reliably.
You pull the headband on first, then take small sections of the fringe and loop them up and over the band, tucking the ends down so friction holds everything in place.
The result looks like you swept the bangs back into the rest of your hair rather than hiding them under an accessory.
Thin elastic headbands give enough grip without the bulk of a fabric wrap, and they sit close enough to the hairline that the tucked bangs don’t create a visible ridge.
The method takes about two minutes once you get the motion down, and it holds through a full day if your bangs have any natural texture.
Straight, fine hair may need a light spray before wrapping to keep the ends from slipping out by afternoon.
14. Use Hair Extensions to Cover Bangs
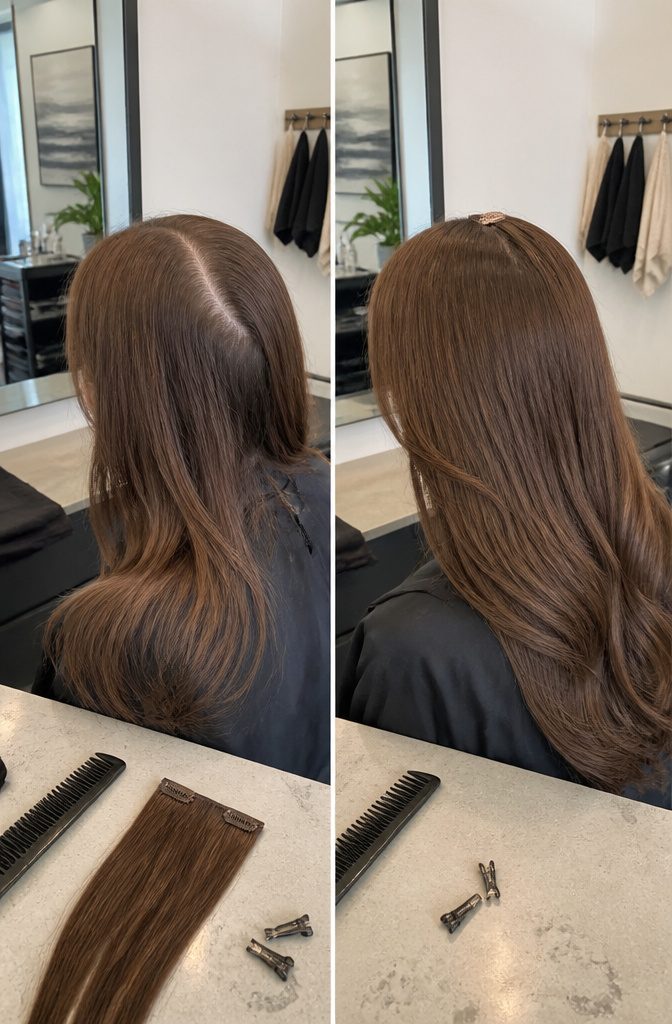
Clip matching hair extensions along your part to layer new length over the bangs you want gone.
Part your hair with a comb, then attach the first extension far enough back from the part line that the clip stays hidden from view. Keep clipping sections forward until the fringe disappears under the longer pieces.
The method works even when you wear your hair down, which gives you more styling freedom than approaches that require a bun or braid.
Choose extensions that match your natural color exactly so the join reads as one length. Beauty supply stores and online retailers stock clip-ins in most shades, and you can reuse the same set until the bangs catch up.
15. Use Clip-In Bangs
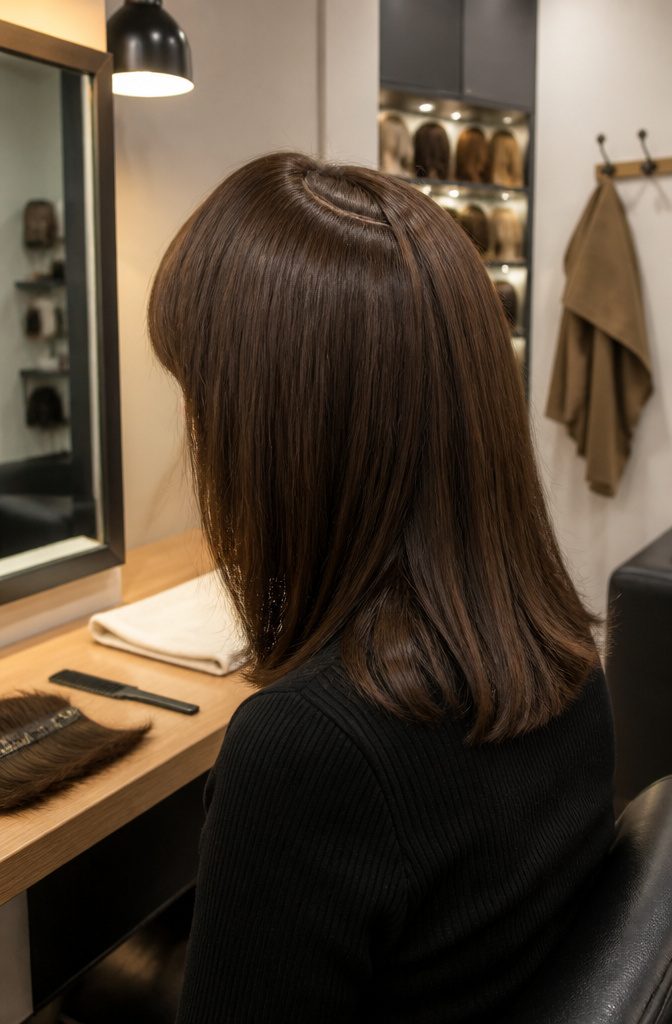
Clip-in bang pieces let you change the fringe without committing to a real cut, and they work just as well in reverse: wear a fuller or blunt set over bangs you are growing out to mask the awkward length underneath.
The synthetic and human-hair versions clip into place along the hairline, and because they sit on top of your natural hair, they add enough visual weight that shorter bangs disappear behind them.
I find this option most useful when bangs have grown past the brow but not yet long enough to tuck or pin smoothly. The clip-in layer gives you a finished look while the real hair continues to grow.
You need to match texture and color closely enough that the seam does not read as obvious, so order samples if you can or bring your own hair to a wig shop for comparison before buying.
16. Use a Mini Straightener or Flat Iron to Flatten Short Bangs Toward a Chosen Side
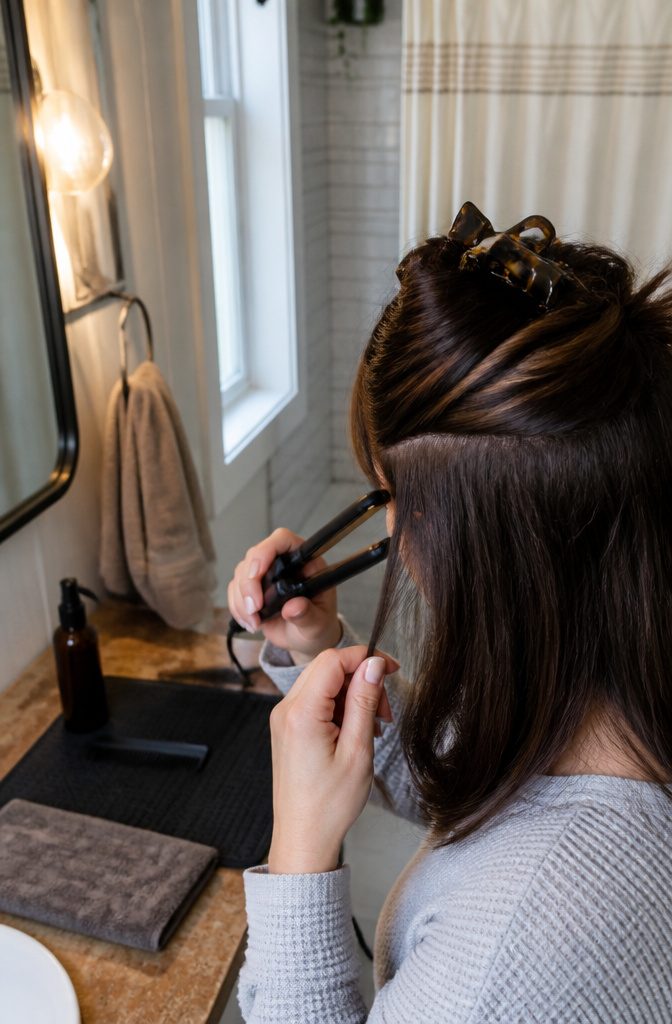
A mini straightener or standard flat iron can redirect short bangs toward one side before you clip them back or work them into the rest of the style.
The smaller tool fits closer to the root and gives more control when the bangs are still too short to tuck easily, but a full-width iron works just as well if you angle it carefully and keep the plates close to the scalp without touching skin.
Apply heat protectant first and let it dry completely before you clamp the iron down.
Wet protectant turns to steam under direct heat, which can frizz the hair or blunt the smoothing effect you need to keep the bangs flat against the head.
Once the section is dry, run the iron slowly from root to end in the direction you want the hair to sit, then pin or gel it in place while it cools.
The flatter the bangs lie, the easier they are to hide under longer pieces or secure with a single bobby pin.
17. Thin Out Blunt Bangs
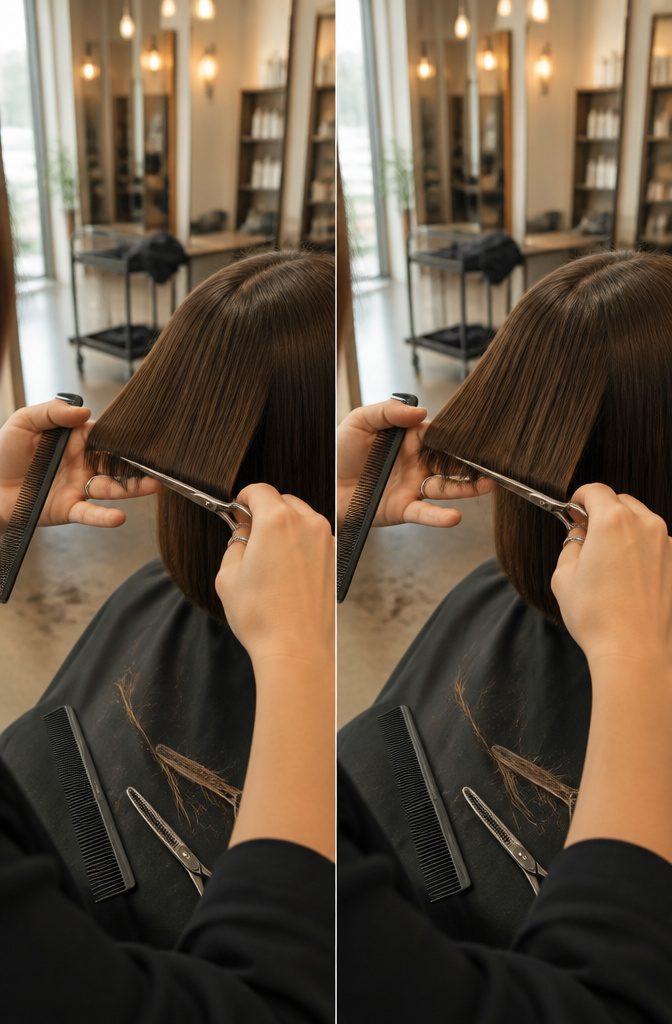
Blunt bangs cut straight across read heavier than side-swept or wispy ones, and thinning them out with shears changes how they sit without losing much length.
A stylist can point-cut into the ends or use thinning shears to remove bulk from the underside, leaving the top layer intact so the fringe still looks full from the front but bends more easily when you pin it back or tuck it behind an ear.
If you thin them yourself at home, work in small vertical snips rather than cutting straight across a second time; you want to break up the blunt line so individual pieces move separately instead of falling as one solid curtain.
Videos walk through the angle and how much to take off, but the difference between workable and choppy is about six snips, so I’d let someone else hold the shears the first time.
18. Curl Short Curtain Bangs Back with a Flat Iron, Then Use Gel and Pins
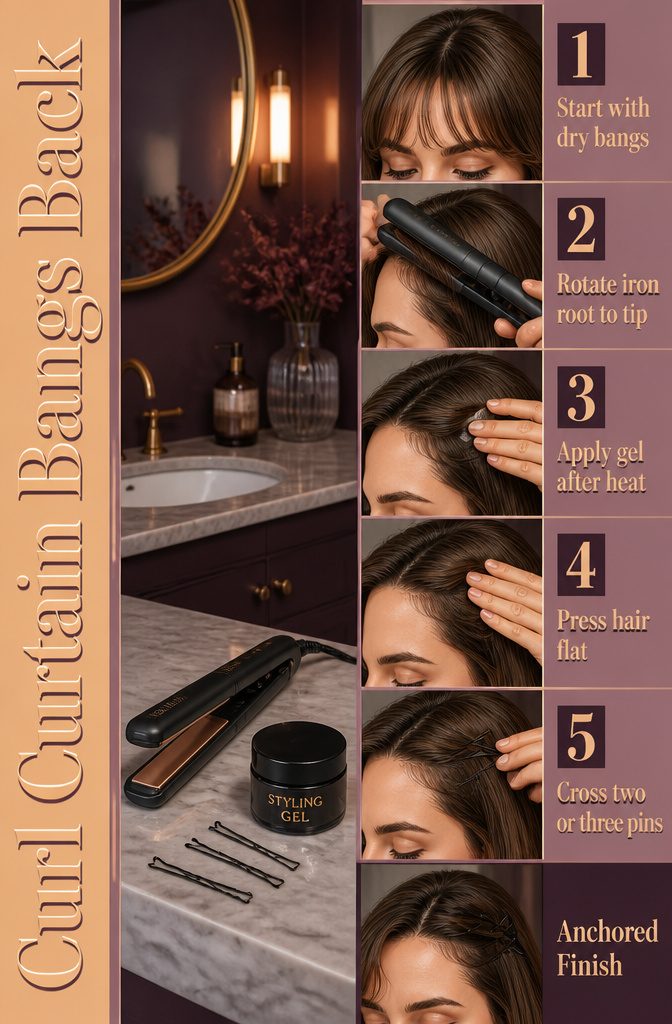
When curtain bangs are still too short to tuck or pin flat, curling them back with a flat iron gives you a bit more reach.
The barrel of the iron wraps the hair in the direction you want it to go, so instead of hanging straight down into your eyes, the bangs curve back toward your crown.
Once they’re curled back, a layer of gel and a few bobby pins hold them in place long enough to last through the day.
This works best when the bangs are dry and you’ve already applied a light styling product. Run the flat iron slowly from root to tip, rotating the barrel as you go so the ends curl under and back.
The gel goes on after the heat, not before, to avoid frying the hair. Press the curled section flat against your head and slide two or three pins in horizontally, crossing them if the bangs are slippery.
The combination of the curl’s new direction and the gel’s grip keeps everything anchored without needing a clip that might slip out.
19. Style a Colorful Pattern with Bobby Pins
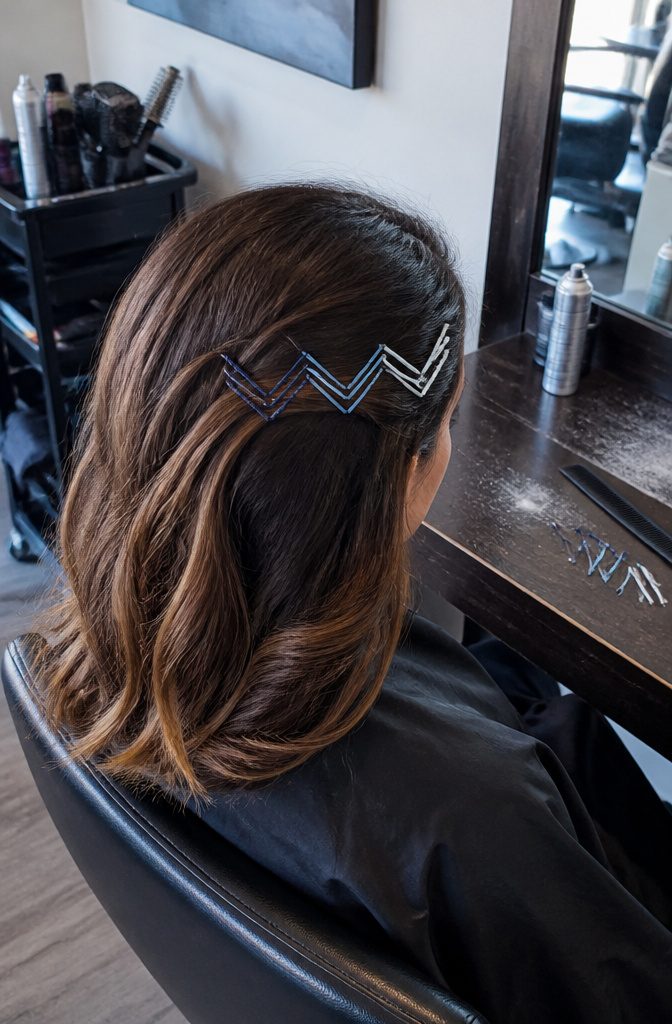
Arrange bobby pins in a V or an X to hold bangs back and create a graphic detail at the same time.
The simplest version uses two pins of the same color to form one V, then adds a second V below it or beside it for symmetry.
Switch colors and the pattern reads louder: navy blue for the first V, light blue for the second, white for the third.
The color blocks the eye before the pins themselves do, so the hardware becomes part of the look instead of something you try to hide.
This works best when bangs are long enough to reach past the hairline but still short enough that you need anchoring at more than one spot along the front.
20. Choose Embellished Pins or Barrettes
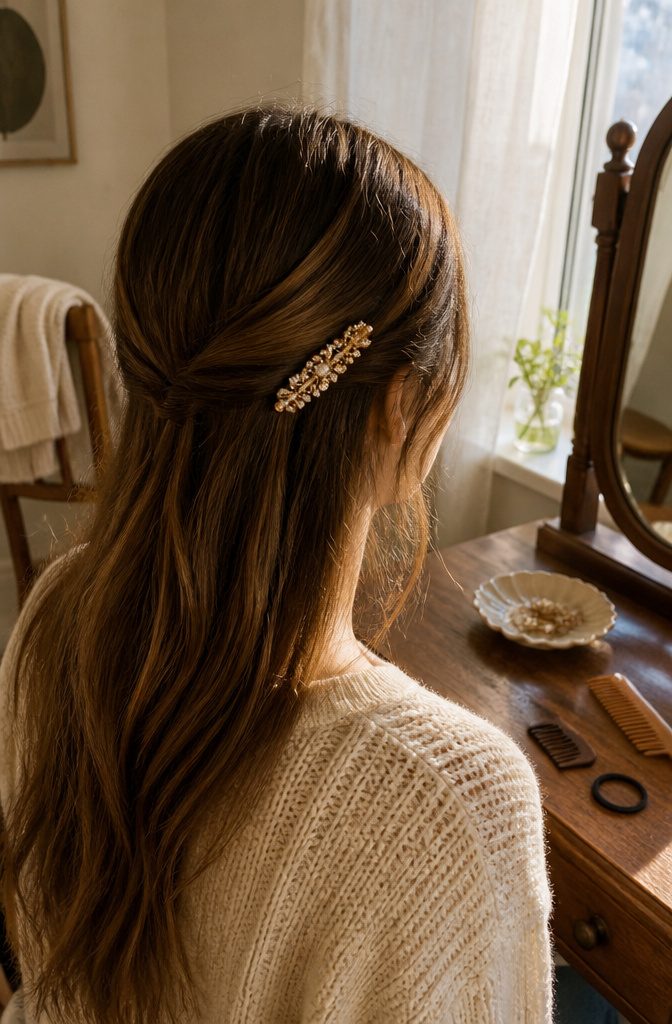
A barrette covered in sparkles, made of beads, or designed with color gives you a way to pin back bangs and add personality at the same time.
The embellishment does the decorating, so the hold itself stays simple: gather your bangs to one side or pull them straight back, clip the barrette in place, and the hardware disappears behind whatever pattern or finish you picked.
You’ll find unique barrettes at jewelry and accessories stores or big box retailers, often in wider variety than the plain clips meant to stay hidden. It matters when you’re trying to show the piece off.
A barrette that matches an outfit or stands out on its own turns a practical fix into something that looks planned, and you skip the step of trying to make boring hardware invisible.
21. Wear a Deep Side Part with the Rest of the Hair Styled as Desired
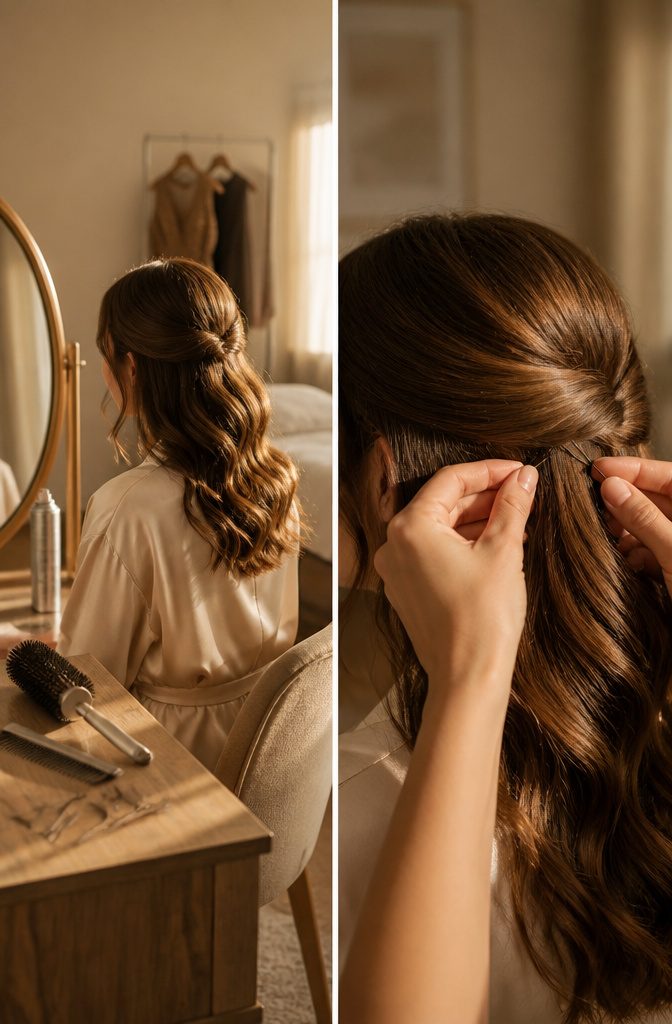
A deep side part sweeps bangs into the rest of your hair and stops them looking like awkward regrowth. The part itself is the concealment trick, then you can style everything else however you want: updos, half-up looks, loose waves.
Start with the deep part, swoop the hair to one side, and use hairspray to lock the bangs where you put them.
A round brush and a bit of blow-drying give direction, a touch of gel keeps stragglers in place, and clips finish the job if anything rebels.
The flipped-over look this creates also makes thin hair read thicker, which is reason enough to reach for it even when your bangs behave.
22. Wear a Wet Look
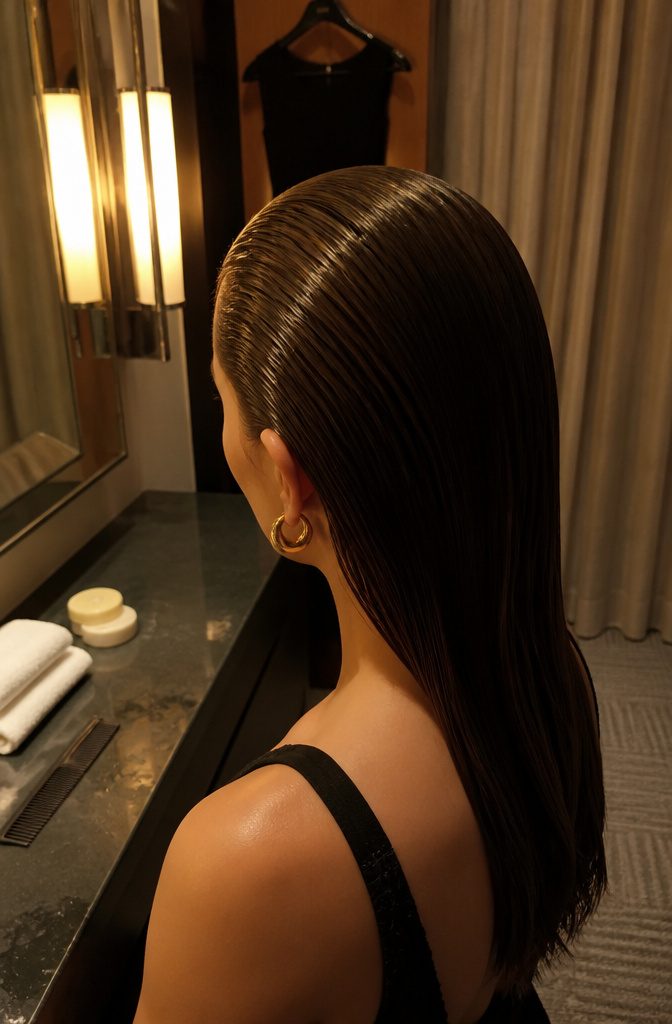
Slick bangs back with gel to create a wet look, particularly when you want polish for an evening out or an event.
The style reads formal and intentional rather than everyday, though there’s nothing stopping you from wearing it on repeat if you like the drama.
Apply a dime-sized amount of gel directly to your bangs, then comb through to distribute it evenly.
You can slick the hair straight back against your scalp for a tighter, more severe line, or sweep it loosely to the sides for something softer.
A quick hit of hairspray locks everything down if your hair tends to spring loose.
The wet look isn’t subtle, and that’s the point. It pulls bangs completely off your face in a way that feels deliberate, not like you’re trying to hide anything.
If you’re growing bangs out and tired of pinning them every morning, this gives you a polished alternative that takes about thirty seconds once you have the gel in hand.
When Bangs Are Short or Growing Out
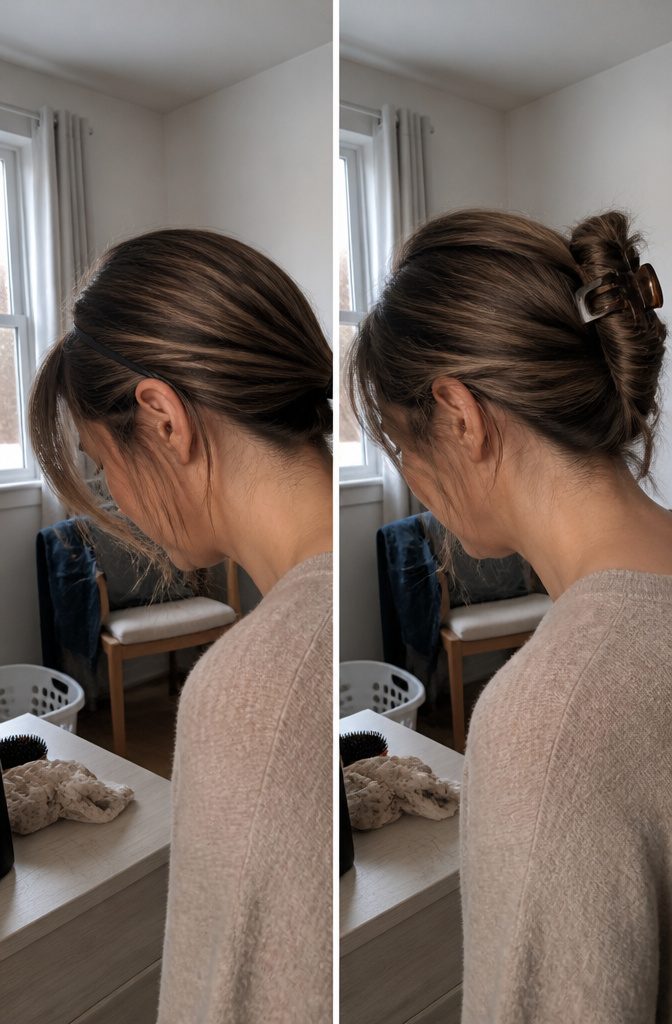
Bangs sit easiest when they blend with the rest of your hair, but that only happens when they’re the right length.
Short bangs that stop well above your brows won’t tuck behind your ears or sweep to the side without pins or product holding them there.
Growing-out bangs land in the same awkward zone: too short to blend naturally, long enough to hang in your eyes. Both stages make styling harder, and both are exactly when concealment becomes worth the effort.
A headband, braid, or twist can hide bangs that refuse to cooperate on their own.
You want to pull them back, pin them into longer layers, or cover them entirely so the cut looks intentional instead of stalled halfway through a grow-out.
Once bangs reach your cheekbones they start to behave, but until then you’re working against their length every morning.
Tools and Products That Hold Bangs in Place
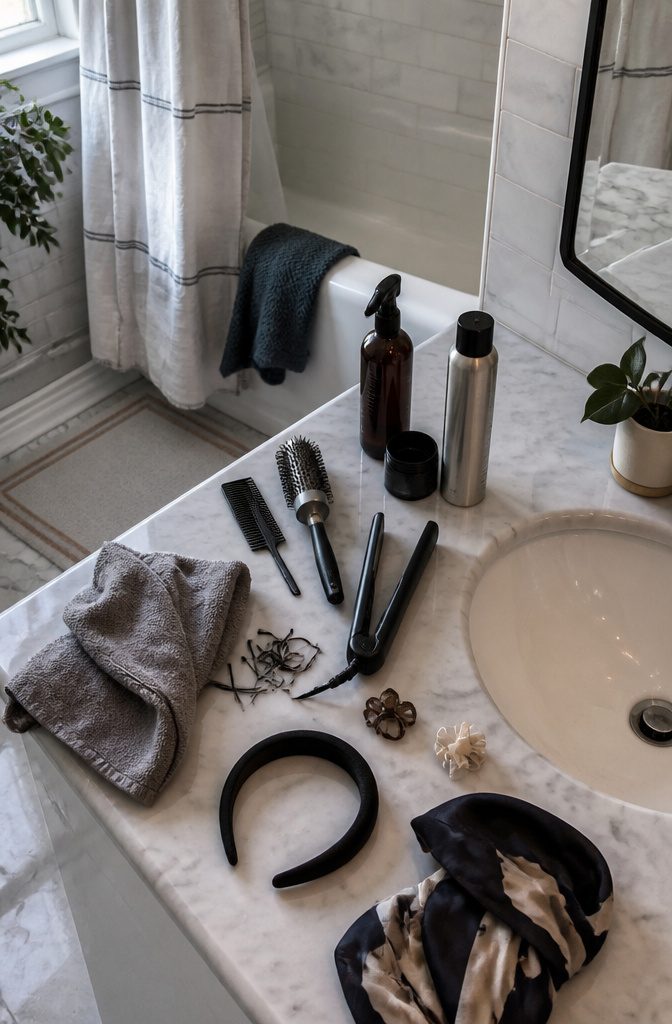
The styles that hide bangs work better when the right products and tools keep them where you put them. Here’s what shows up across methods:
- Gel or hairspray locks bangs in place after you slick them back, sweep them to the side, or part them down the middle.
- Heat protectant goes on before using any hot tool on bangs.
- Mini hair straightener or standard flat iron flattens short bangs so they sit against your head or curve back smoothly.
- Round brush adds direction when blow-drying bangs to the side or back.
- Comb parts hair, teases out volume, or distributes gel through bangs.
- Bobby pins, clips, barrettes, and elastics secure braids, twists, side-sweeps, and pinned-back sections.
- Headbands, head scarves, hats, and caps cover bangs entirely or hold them flat against your scalp.
- Hair extensions add length that covers shorter bangs when styled with the rest of your hair.
Frequently Asked Questions
How to hide bangs you cut too short?
Use accessories like headbands, scarves, or hats to cover them completely, or pin them back with bobby pins after blow-drying them to one side.
A mini straightener can flatten very short bangs against your scalp before pinning them in place. If they’re long enough to reach past your hairline, try twisting or braiding them into the rest of your hair.
How do I style my hair with bangs?
Style bangs by sweeping them to one side with a deep part, slicking them back with gel, or pinning them up into a pouf for volume.
You can also braid them along your forehead, tuck them behind your ears, or blend them into the rest of your hair with texturizing spray.
Accessories like headbands and clips give you quick options when you don’t want to use heat or product.
How to keep bangs out of face without clips?
Slick bangs back with gel or hairspray to hold them in place without hardware, or wrap them around a thin stretchy headband and tuck the ends underneath.
A center part that directs bangs to both sides also keeps them off your face if you use enough product to lock them down. For longer bangs, tucking them behind your ears works without needing clips.