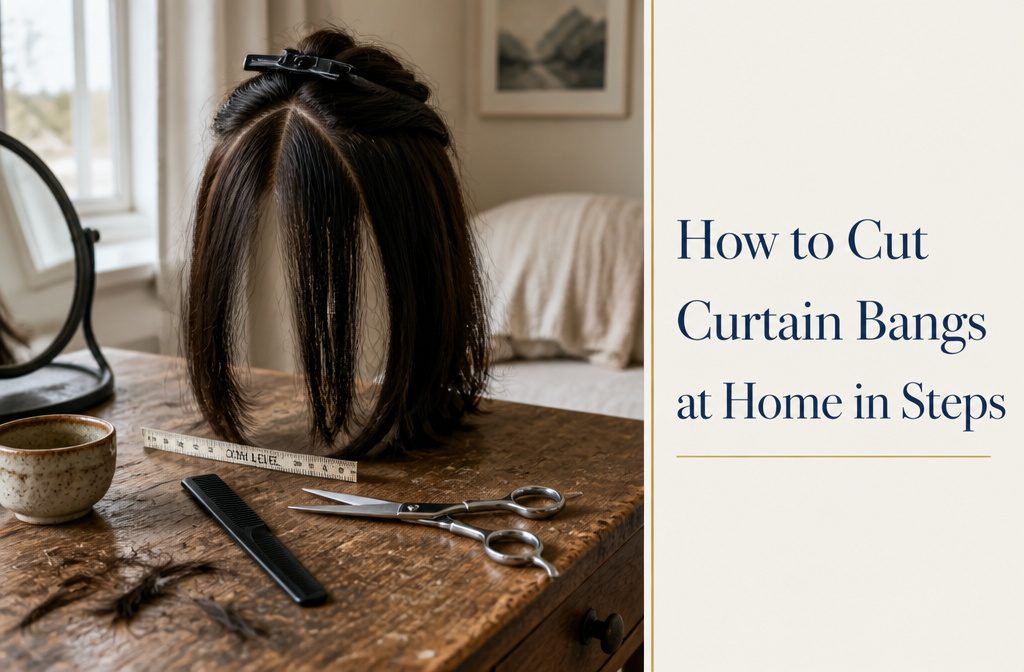
Curtain bangs cut at home in under 20 minutes give you the framing and volume a salon cut delivers, as long as you section them into a triangle and start the first pass at chin level.
Most people cut too short too fast, trimming above the chin on the first go and ending up with a blunt fringe that sits higher than planned once styled.
1. Prepare Your Tools and Hair
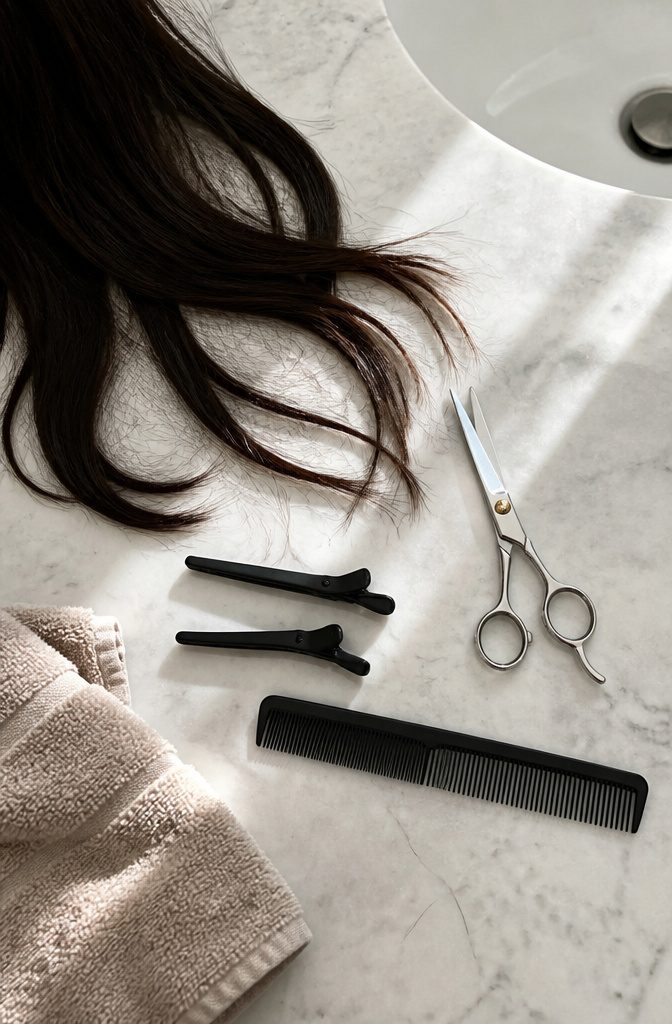
You need hair shears (or hair trimming shears), hair clips, and either a tail comb or a flat comb.
Kitchen scissors stay in the drawer, no matter how sharp they feel. Hair shears cut cleaner and give you the sharp, professional line curtain bangs need.
Work with hair that is detangled and completely dry. Dry cutting gives more accurate length control because wet hair appears longer and shrinks as it dries.
You also miss natural growth patterns and cowlicks when hair is wet, and those matter when you are shaping a fringe that parts down the center.
If your hair is damp, blow-dry it fully before you start. Dry hair falls the way it will after the cut, so what you see is what you get.
2. Section the Bangs Into a Triangle
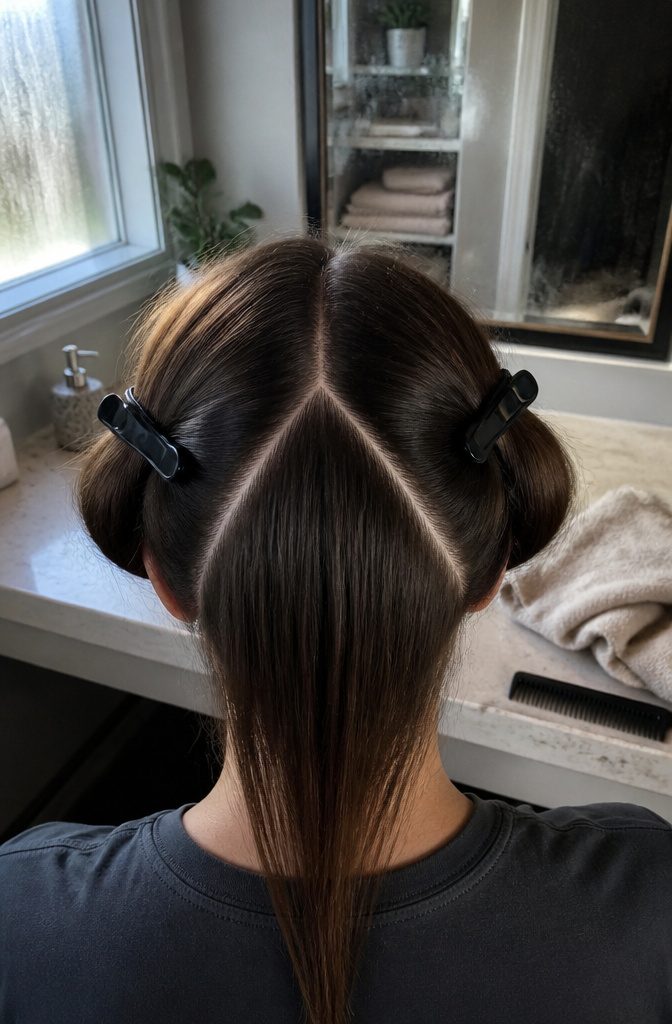
Use the top of your head and the arch of each eyebrow as your guides. Place a comb at the crown and draw a sharp diagonal part down to the arch of your right eyebrow, then clip that section.
Repeat on the left side, creating a second diagonal part from crown to the left brow arch. The two parts meet at the top of your head to form a triangle that holds all the hair you’ll cut.
Comb the entire triangle section forward so it falls in front of your face. Clip the rest of your hair back and out of the way so you’re working only with that triangle.
Starting the triangle farther back on your head pulls in more hair and creates fuller bangs, so adjust the starting point based on how much volume you want framing your face.
3. Make the First Cut at Chin Level
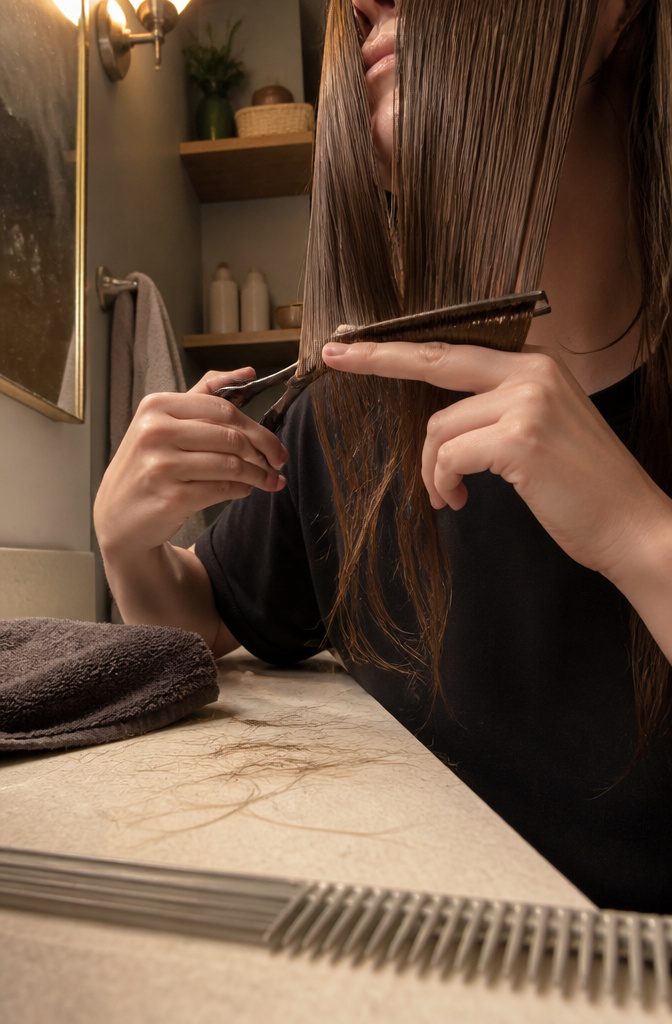
Hold the comb against the sectioned triangle and run it down until it reaches your chin. Place your first two fingers just underneath the comb, then cut straight across the entire section with the scissors held parallel to your chin.
This first pass establishes chin-length bangs, and cutting right under your fingers gives you a clean guide.
Starting long matters because hair cannot be put back once it is gone. One of the most common mistakes when cutting your own bangs is trimming shorter than you wanted on the first cut.
More can always come off later if you decide you want them shorter, but there is no fixing a cut that went too high. Use your chin as a guide and do not trim above it at this stage.
4. Shape the Sides at an Angle
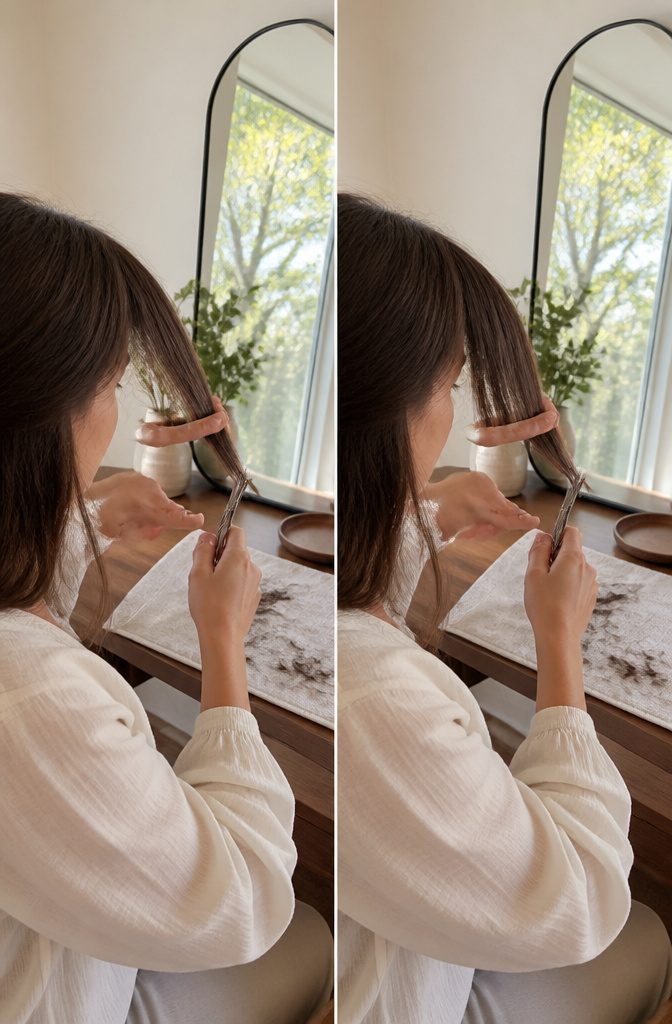
Part the bangs down the middle and cut each side at the opposite angle, using the arch of your eyebrow as your guide.
Hold one section between two fingers just above the ends, fingers angled to match the gentle slope from the top of your brow to its outer edge.
Cut just below your fingers, then repeat on the other side with the angle reversed. That asymmetry gives the bangs a softer, more textured look than a straight-across cut.
Point-cutting helps here. Hold the scissors vertically and move them in short up-and-down snips rather than slicing straight across.
The vertical angle catches less hair with each cut and leaves the ends irregular in a way that looks natural once styled. Texturizing shears work too if you have them, though regular shears held vertically do the job.
Step back from the mirror before you make these angled cuts. Standing too close makes it easy to overcut, and you need the wider view to see how both sides balance.
5. Feather the Ends With Vertical Snips
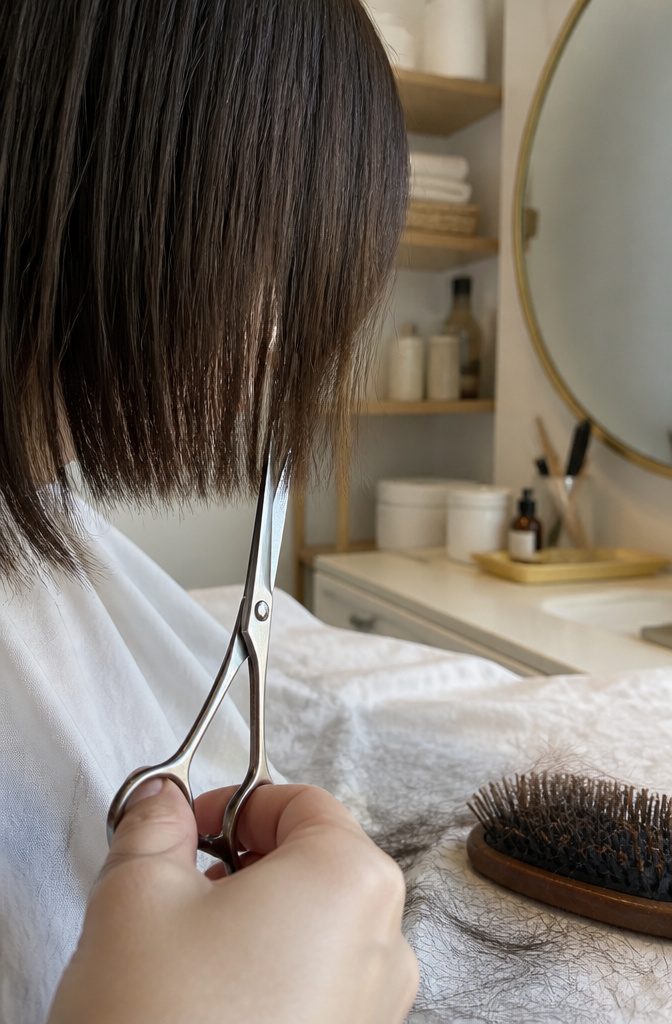
Once the length is where you want it, the last move is four to six small vertical snips across the bottom edge. Hold the scissors vertically and make random cuts as you move from one side to the other.
These snips should be tiny, barely taking any hair off at all, just enough to soften the line and break up the blunt edge you created in the earlier steps.
Release the bangs and let them fall naturally. If you see any sections that still look too heavy or cut too straight, point-cut from the shortest parts near the center outward to the longest pieces at the sides.
This creates blending without losing the curtain shape. You’re mimicking the way hair naturally tapers, not making another round of serious cuts.
The difference shows when you brush the bangs into place: feathered ends move and settle like the rest of your hair instead of hanging like a shelf.
6. Blow-Dry With a Round Brush for Volume
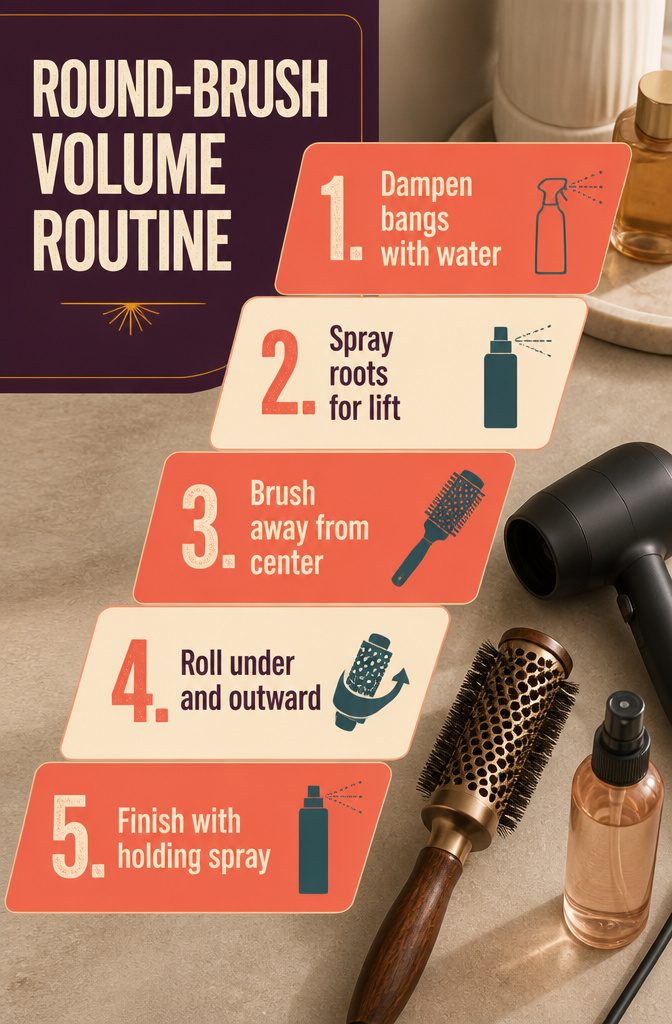
Once the cut is done, spray the bangs with water until they are damp and apply a volumizing or holding spray directly at the roots.
That is where lift shows or disappears. Using a boar bristle round brush, blow dry each side away from the center, rolling the brush under and outward as you work from roots to ends.
The movement builds the feathered shape curtain bangs are known for. Finish with a light holding spray to lock the volume in place.
A flat iron works if you want a sleeker result.
Run it through the dry bangs with a slight outward curve at the ends, keeping the temperature low to avoid damage. Air drying is the third option and pairs well with wavy or curly hair.
Apply a texturizing spray to damp bangs and finger-style them into place as they dry. I reach for the round brush when the look needs polish, but the air-dry route saves time on mornings that do not call for it.
Adjusting the Cut for Curly Hair
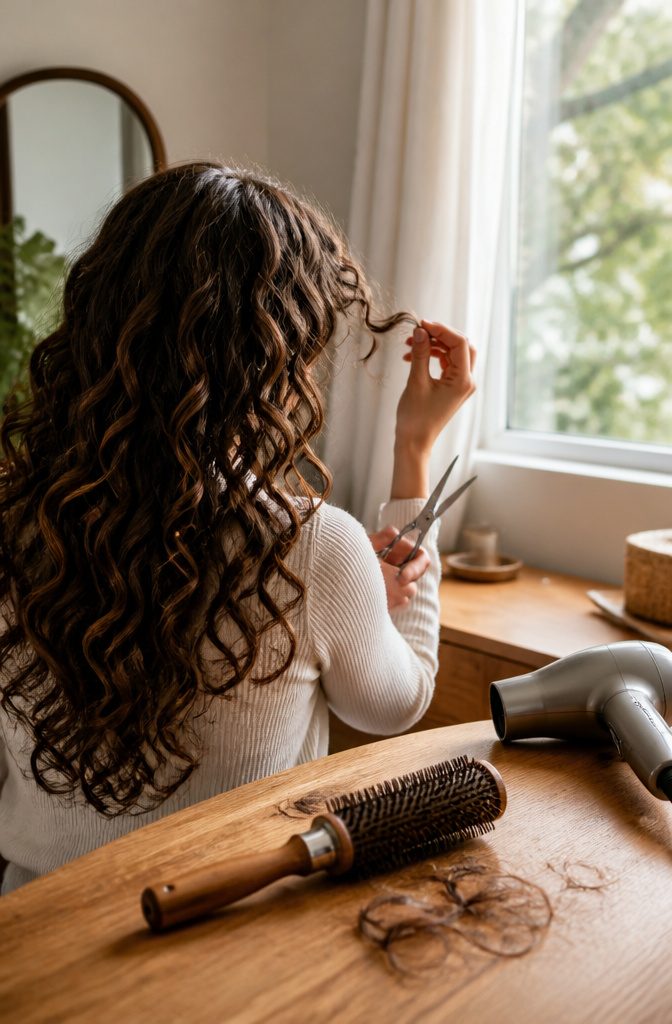
Curly hair should always be cut on dry, styled hair so you can see the true length before you snip.
Curls spring up when dry, often dramatically, and wet hair appears longer than it actually is. What looks like a safe chin-length cut on damp hair can shrink to eyebrow level once it dries and coils back up.
Start longer than your target and trim gradually. You can always take more off, but growing it back takes weeks.
Straight hair, on the other hand, demands more daily effort to get curtain bangs to look right.
Unless your hair has a natural wave, you’ll need a round brush and a blow dryer every morning to lift the roots and sweep the fringe away from your face.
Curls and waves give you that movement for free, which makes them lower-maintenance once the cut is done.
When to Get Professional Help
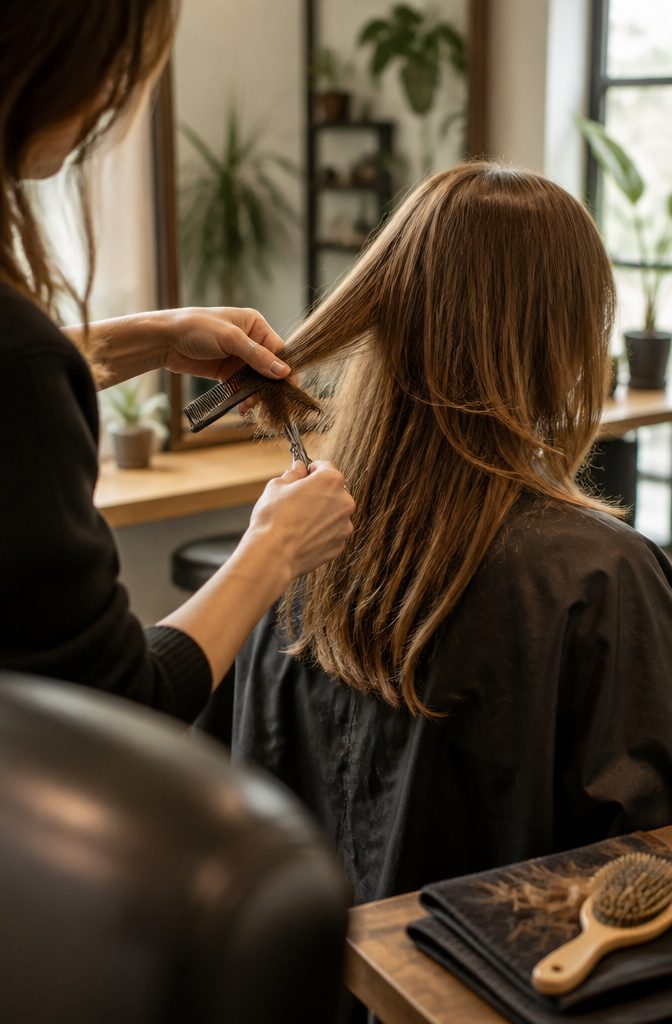
Every four to six weeks is the maintenance window that keeps curtain bangs looking intentional rather than halfway grown out. The style grows out more gracefully than blunt bangs, but regular trims hold the shape.
Before you make the first cut, find a reference picture. Curtain bangs suit most textures, but face shape decides the best length and layering.
Without that reference, you risk a fringe that sits at odds with the rest of your cut. A professional can walk you through length and placement, even over Zoom if you want to try the cut yourself.
Sometimes when cut at home, they won’t blend into the rest of your hair. A great hairstylist will be able to blend them as much as possible for an easier grow-out.
— Glamour
Blending is where DIY cuts most often fail. A stylist feathers the bangs into your layers so the transition reads as part of the cut, not an afterthought.
At home, that blending takes more skill than the initial snip, and the line between bangs and the rest of your hair can look abrupt.
Frequently Asked Questions
Is it better to cut curtain bangs wet or dry?
Cut curtain bangs on completely dry hair.
Wet hair appears longer and shrinks as it dries, making it impossible to judge accurate length. Dry cutting also reveals natural growth patterns and cowlicks that affect how the fringe parts down the center.
How often should you trim curtain bangs?
Trim curtain bangs every 4 to 6 weeks to keep them looking intentional rather than grown out. The style holds up better than blunt bangs between cuts, but regular maintenance preserves the shape and framing effect.
Can you cut curtain bangs on curly hair?
Yes, but only on dry, fully styled hair so you can see the true length before cutting.
Curls spring up dramatically when dry, and what looks like chin-length on damp hair can shrink to eyebrow level once it dries. Start longer than your target and trim gradually.
Do I need hair shears, or can I use regular scissors?
You need hair shears or hair trimming shears because they cut cleaner and create the sharp, professional line curtain bangs require. Kitchen scissors, no matter how sharp they feel, stay in the drawer.
What face shape do curtain bangs suit?
Curtain bangs complement round, oval, square, long, and heart-shaped faces. Face shape does determine the best length and layering for your specific features, so find a reference picture before you start cutting.
Are curtain bangs still in for 2026?
Yes, curtain bangs remain popular in 2026. They continue to be a flattering, low-maintenance option that frames the face and works with most hair textures, which keeps them relevant season after season.